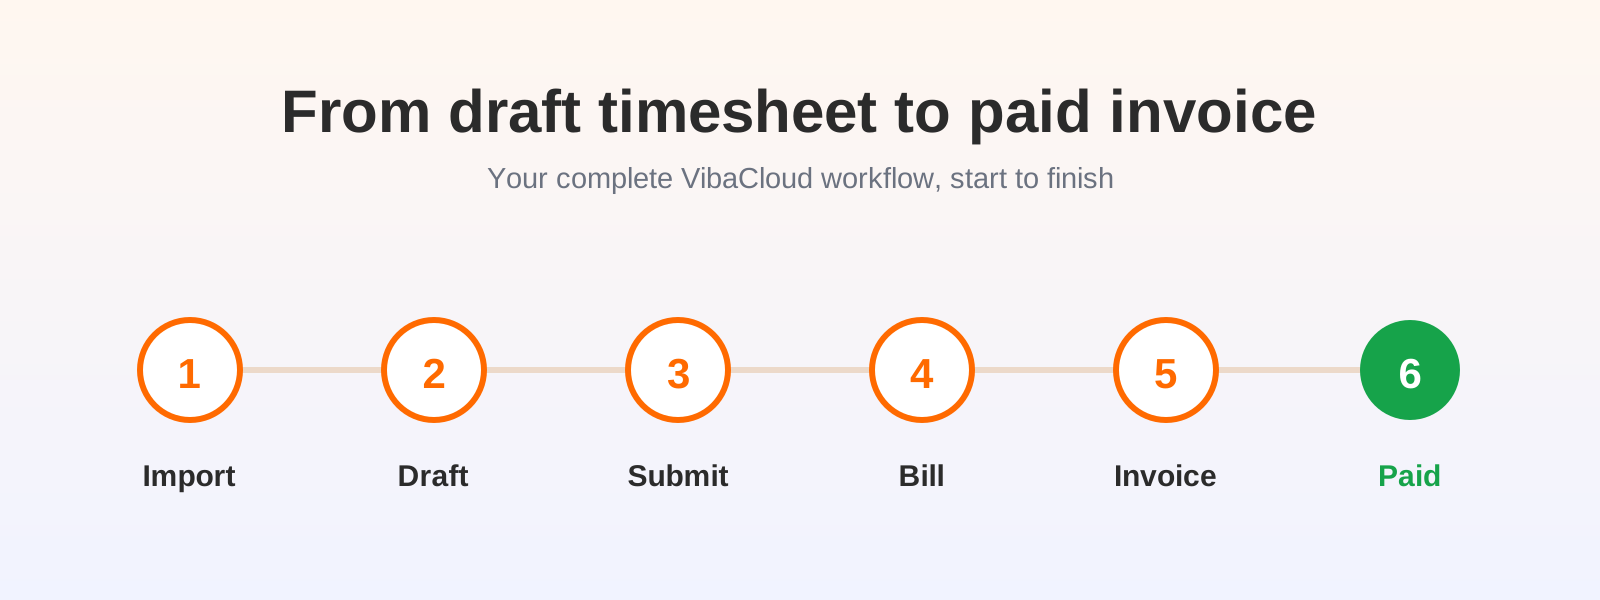
From Draft Timesheet to Paid Invoice: The Complete Workflow
New to VibaCloud? This is the whole journey in one place. We'll start with an empty week and finish with a paid invoice, passing through every screen you'll use along the way. The whole idea of VibaCloud is that each step feeds the next: your calendar becomes a draft timesheet, your submitted timesheet becomes a billing summary, and that summary becomes an invoice you can track to payment. Follow it once and the rhythm will be second nature.
Here's the path at a glance:
- Import your week
- Build your draft timesheet
- Submit the week
- Review the work in Billing
- Create the invoice
- Send it and get paid
1. Import your week (or start manually)
Head to the Import screen and connect your Outlook or Google calendar. VibaCloud reads the events for the week you choose and, in one click, both saves them and creates matching draft timesheet lines. Every meeting, call and block of focus time you'd already scheduled is now a starting point, so you're editing rather than typing from scratch.
No calendar, or a week that didn't make it into one? You can skip this step entirely and add lines by hand on the next screen. Either way, you end up in the same place: a draft timesheet ready to tidy up. If you'd like the detail, see creating a timesheet from your calendar or tracking time manually.
2. Build your draft timesheet
The Draft Timesheet screen is a weekly grid: every row is a line of work and every column is a day from Monday to Sunday. For each row, pick the Organisation, Project and Task it belongs to, then enter the hours per day. Imported lines arrive untagged, so the main job here is assigning each one to the right project and checking the hours look right.
The project is what matters most, because it decides two things automatically: whether the line is billable, and the hourly rate. You never set a rate on a row by hand. Add manual lines for anything the calendar missed, remove anything that shouldn't be there, and you've got an accurate picture of the week. For the finer points, see how to fill out a timesheet correctly.
3. Submit the week
When the week looks right, submit it. This is the moment a draft becomes a record. Submitting locks the week so the entries become read-only, and it freezes each line's billable flag, hourly rate and value. That freeze is the quiet hero of the whole system: it means a report or an invoice you produce later always reflects what you actually committed to, even if you change a project's rate further down the line.
Submitted weeks live on My Timesheets alongside any drafts. Spotted a mistake after submitting? You can reopen a week, make the change and submit again. Every reopen is tracked, so there's always a clear trail.
4. Review the work in Billing
The Billing screen brings every submitted week together. Choose a period, from this month to a whole year or any custom range, and pick a client from the filter. VibaCloud adds up your billable and non-billable hours and the total value across all those weeks, broken down by project. It's the place to sanity-check a month before you bill it, and you can export the figures to Excel or print them if you just need the numbers.
Only submitted work shows here, so if something's missing, check it hasn't been left as a draft. When you've chosen a single client with billable hours, the Create invoice button lights up. For more on reading the summary, see running billing reports and invoicing clients.
5. Create the invoice
Click Create invoice and VibaCloud snapshots that client's billable work for the period into a proper invoice: one line per project and rate, the next sequential number (INV-0001, INV-0002 and so on, or the prefix and starting number you've set in Invoice Settings), your VAT or tax rule applied, and your business details in the FROM block. It lands on the invoice's own page as a Draft. Because it's a snapshot, it stays exactly as issued even if you later reopen a timesheet or change a rate, so it's a true record rather than a live view. From here you can download it as a tidy PDF to send to your client.
First time? Fill in your business name, address and tax details once in Invoice Settings, and set your payment terms (14 days by default) so due dates work out automatically.
6. Send it and get paid
Once you've emailed the PDF to your client, open the invoice and mark it Sent. When the money arrives, mark it Paid (or Void it if you ever need to cancel one). The Invoices screen lists every invoice with its status and totals up what's still outstanding. Anything that's been sent but slips past its due date is flagged as overdue automatically, so chasing late payers is a glance rather than a spreadsheet.
And that's the full loop: a calendar event at one end, money in the bank at the other, with VibaCloud keeping the figures honest the whole way through.
A weekly rhythm that keeps it effortless
A little routine is all it takes to keep the whole thing humming:
- Import and tidy your week as you finish it, while the events are fresh in your mind.
- Submit each week once it's right, so your billing is always up to date.
- At month end, review Billing per client and create the invoices.
- Mark invoices sent when you email them, and paid when you're paid, so Outstanding always tells the truth.
Brand new? Begin with Getting Started with VibaCloud, and you'll be running this loop end to end in no time.